All courses on Blackboard are created unavailable and in this state, instructors are able to build their course, but students won’t be able to access it.
Once you’ve created your site and you’re happy it meets the basic requirements set out in the Blackboard Threshold Standards, it’s time to make it available to students.
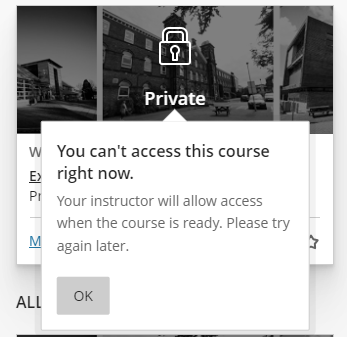
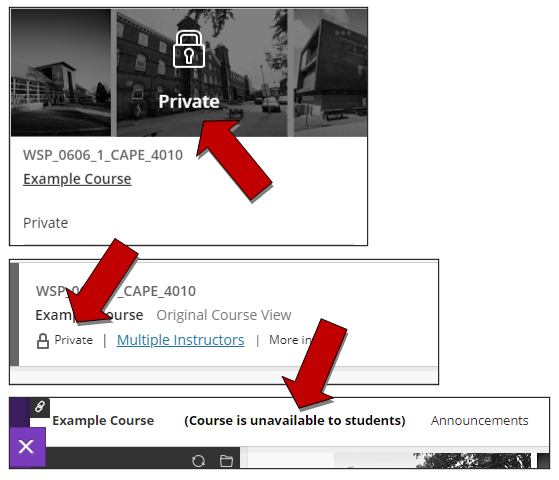
In your Courses list, if you see a padlock icon and ‘private’ after the name of a course that you are teaching, then this course isn’t currently available to your students. Within the site, you will also see ‘(Course is unavailable to students)‘ across the top.
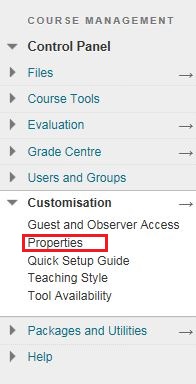
Click the Customisation section of the control panel within your Blackboard site to open it
Next, click Properties
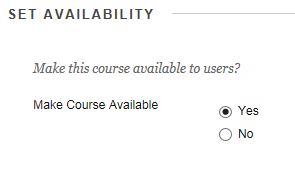
On the page that display’s, under Set Availability select Yes to Make Course Available
Click the Submit button to save the changes
Your students will now be able to access the course.
You can easily make the course unavailable again by following these steps and selecting No.
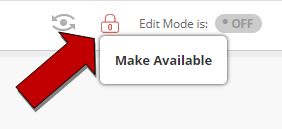
You can also make the site available and unavailable from within the course by using the padlock icon as shown below. This will quickly toggle the availability to students in the same way as described above.
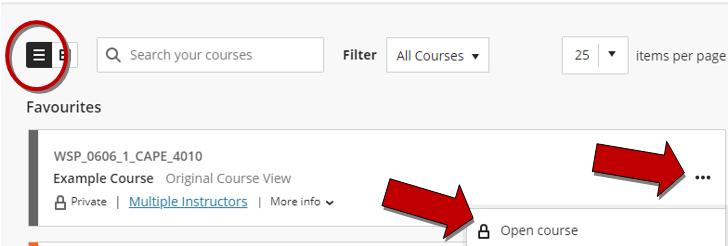
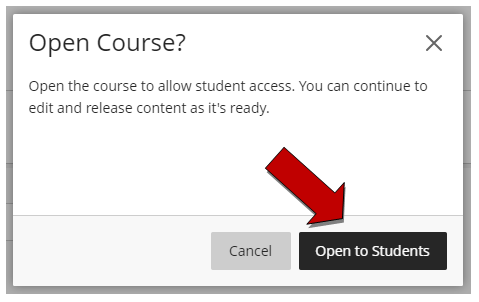
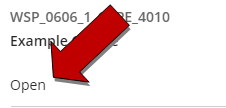
You can now also make the course available directly from the Courses menu. Whether in tile or list view, click the three dots and select ‘open course’ from the menu that appears, then confirm you wish to open the course from the pop-up menu. The padlock icon will then disappear and ‘Private’ will change to ‘Open’.